

Nectar Virtual Desktop Service
There are a few differences between the open-source version of Neurodesk and what’s hosted on Nectar VDI:
- There is no
/neurodesktop-storagefolder (the folder on the Desktop does not lead anywhere). - Files uploaded via drag and drop do not get stored on the desktop but in
/home/vdiuser/thinclient_drives/GUACFS.
Instructions for use
Section titled “Instructions for use”- Go to https://desktop.rc.nectar.org.au/.
- Click on “Sign in”.
- Choose the AAF option.
- Choose your institution from the list.
- Provide your email address and password.
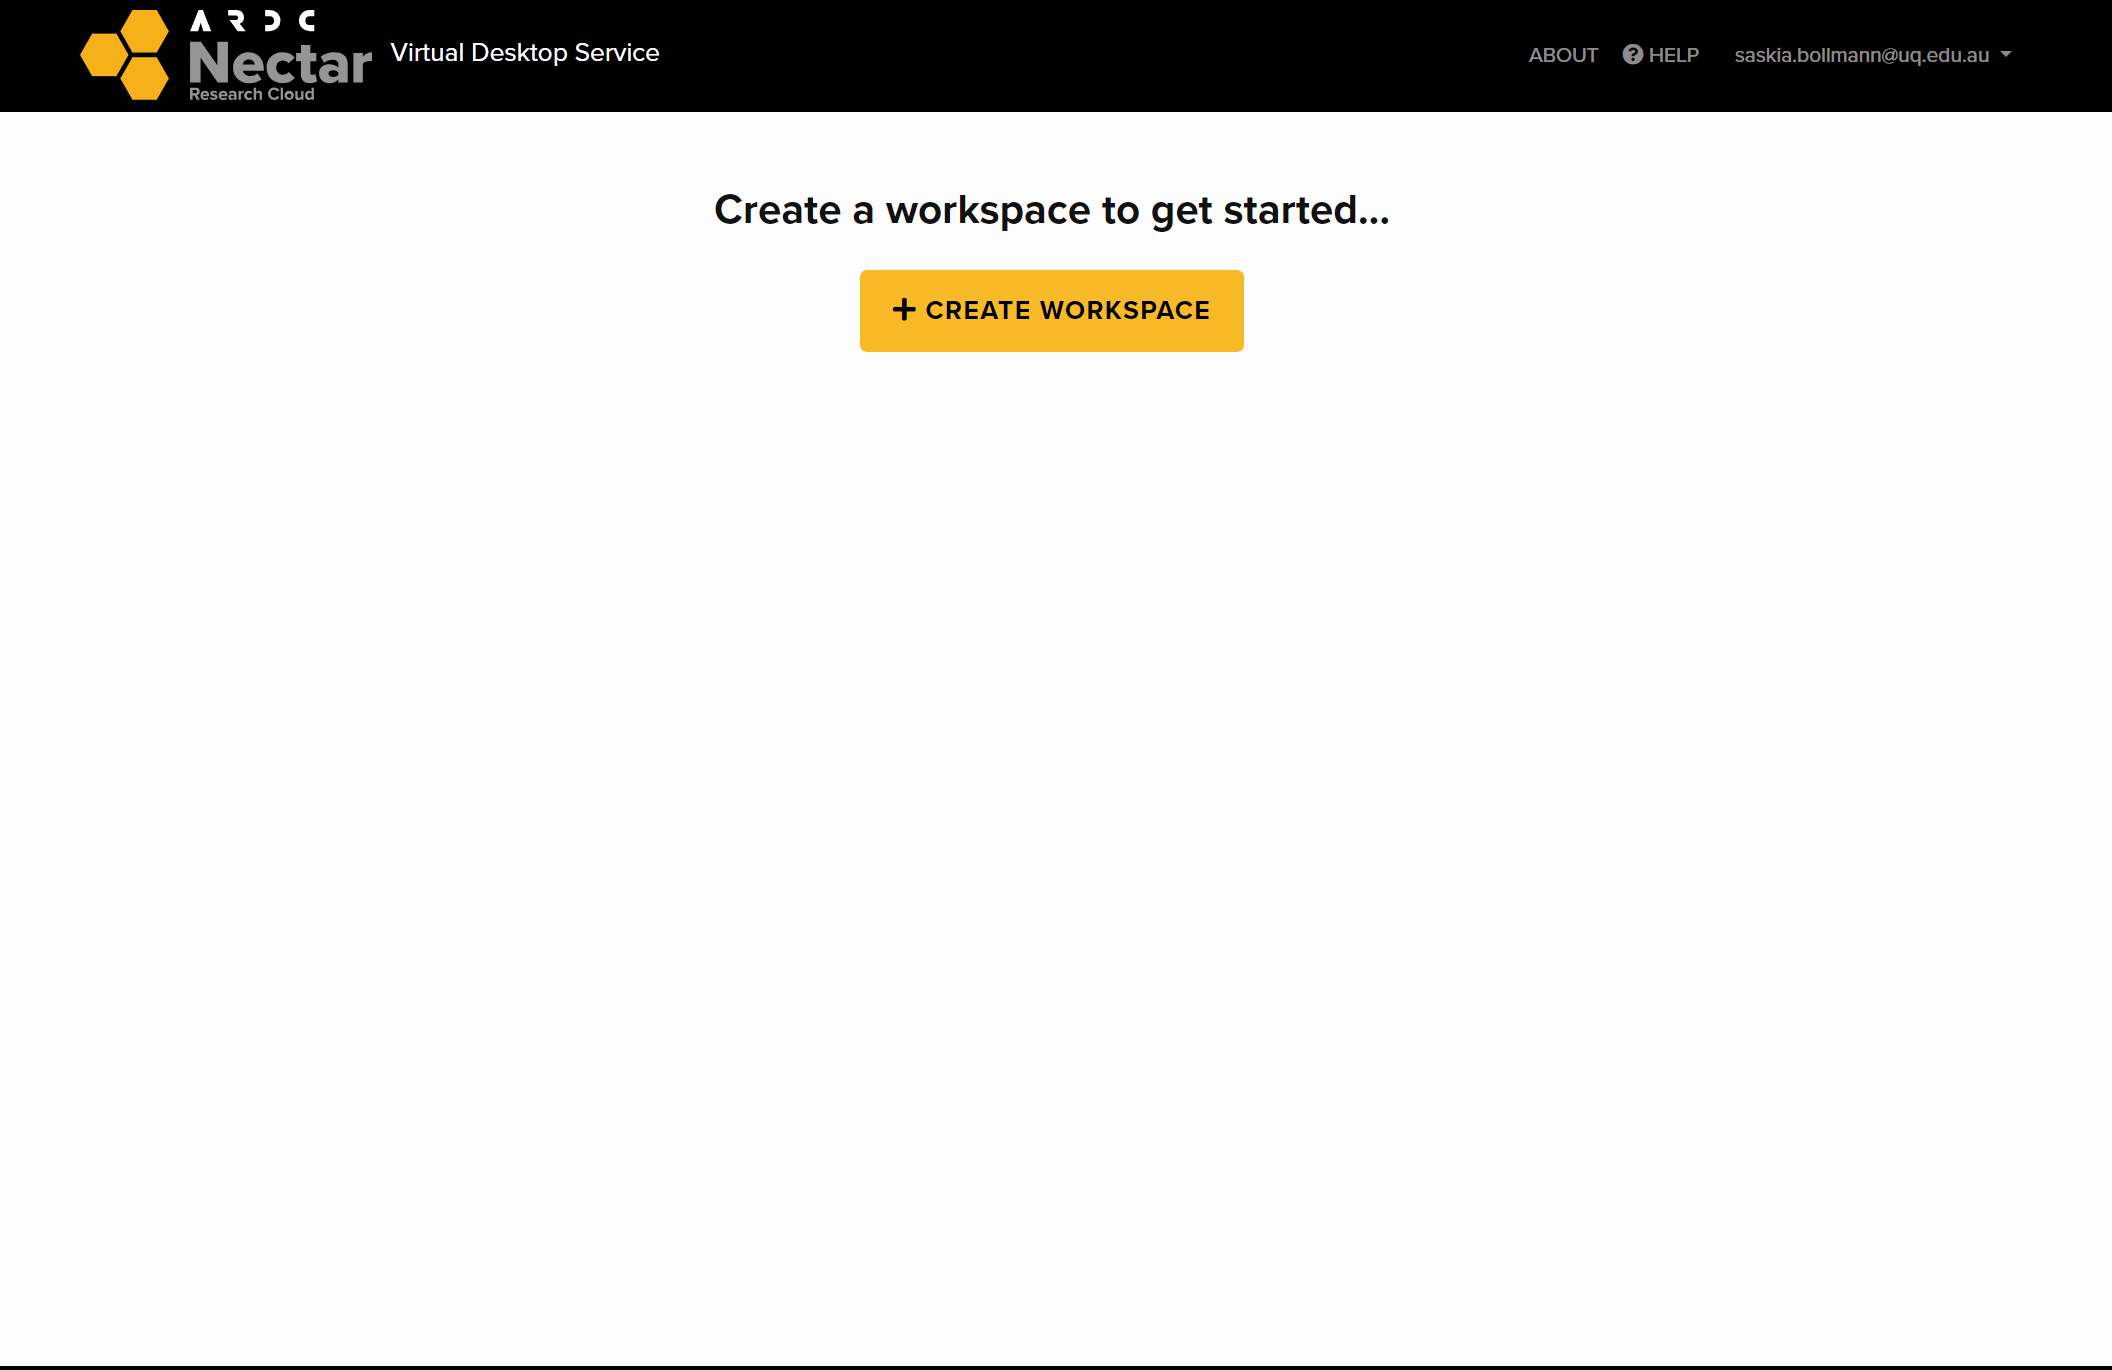
- Click on create a Workspace (you only need to do this when you sign in for the first time).
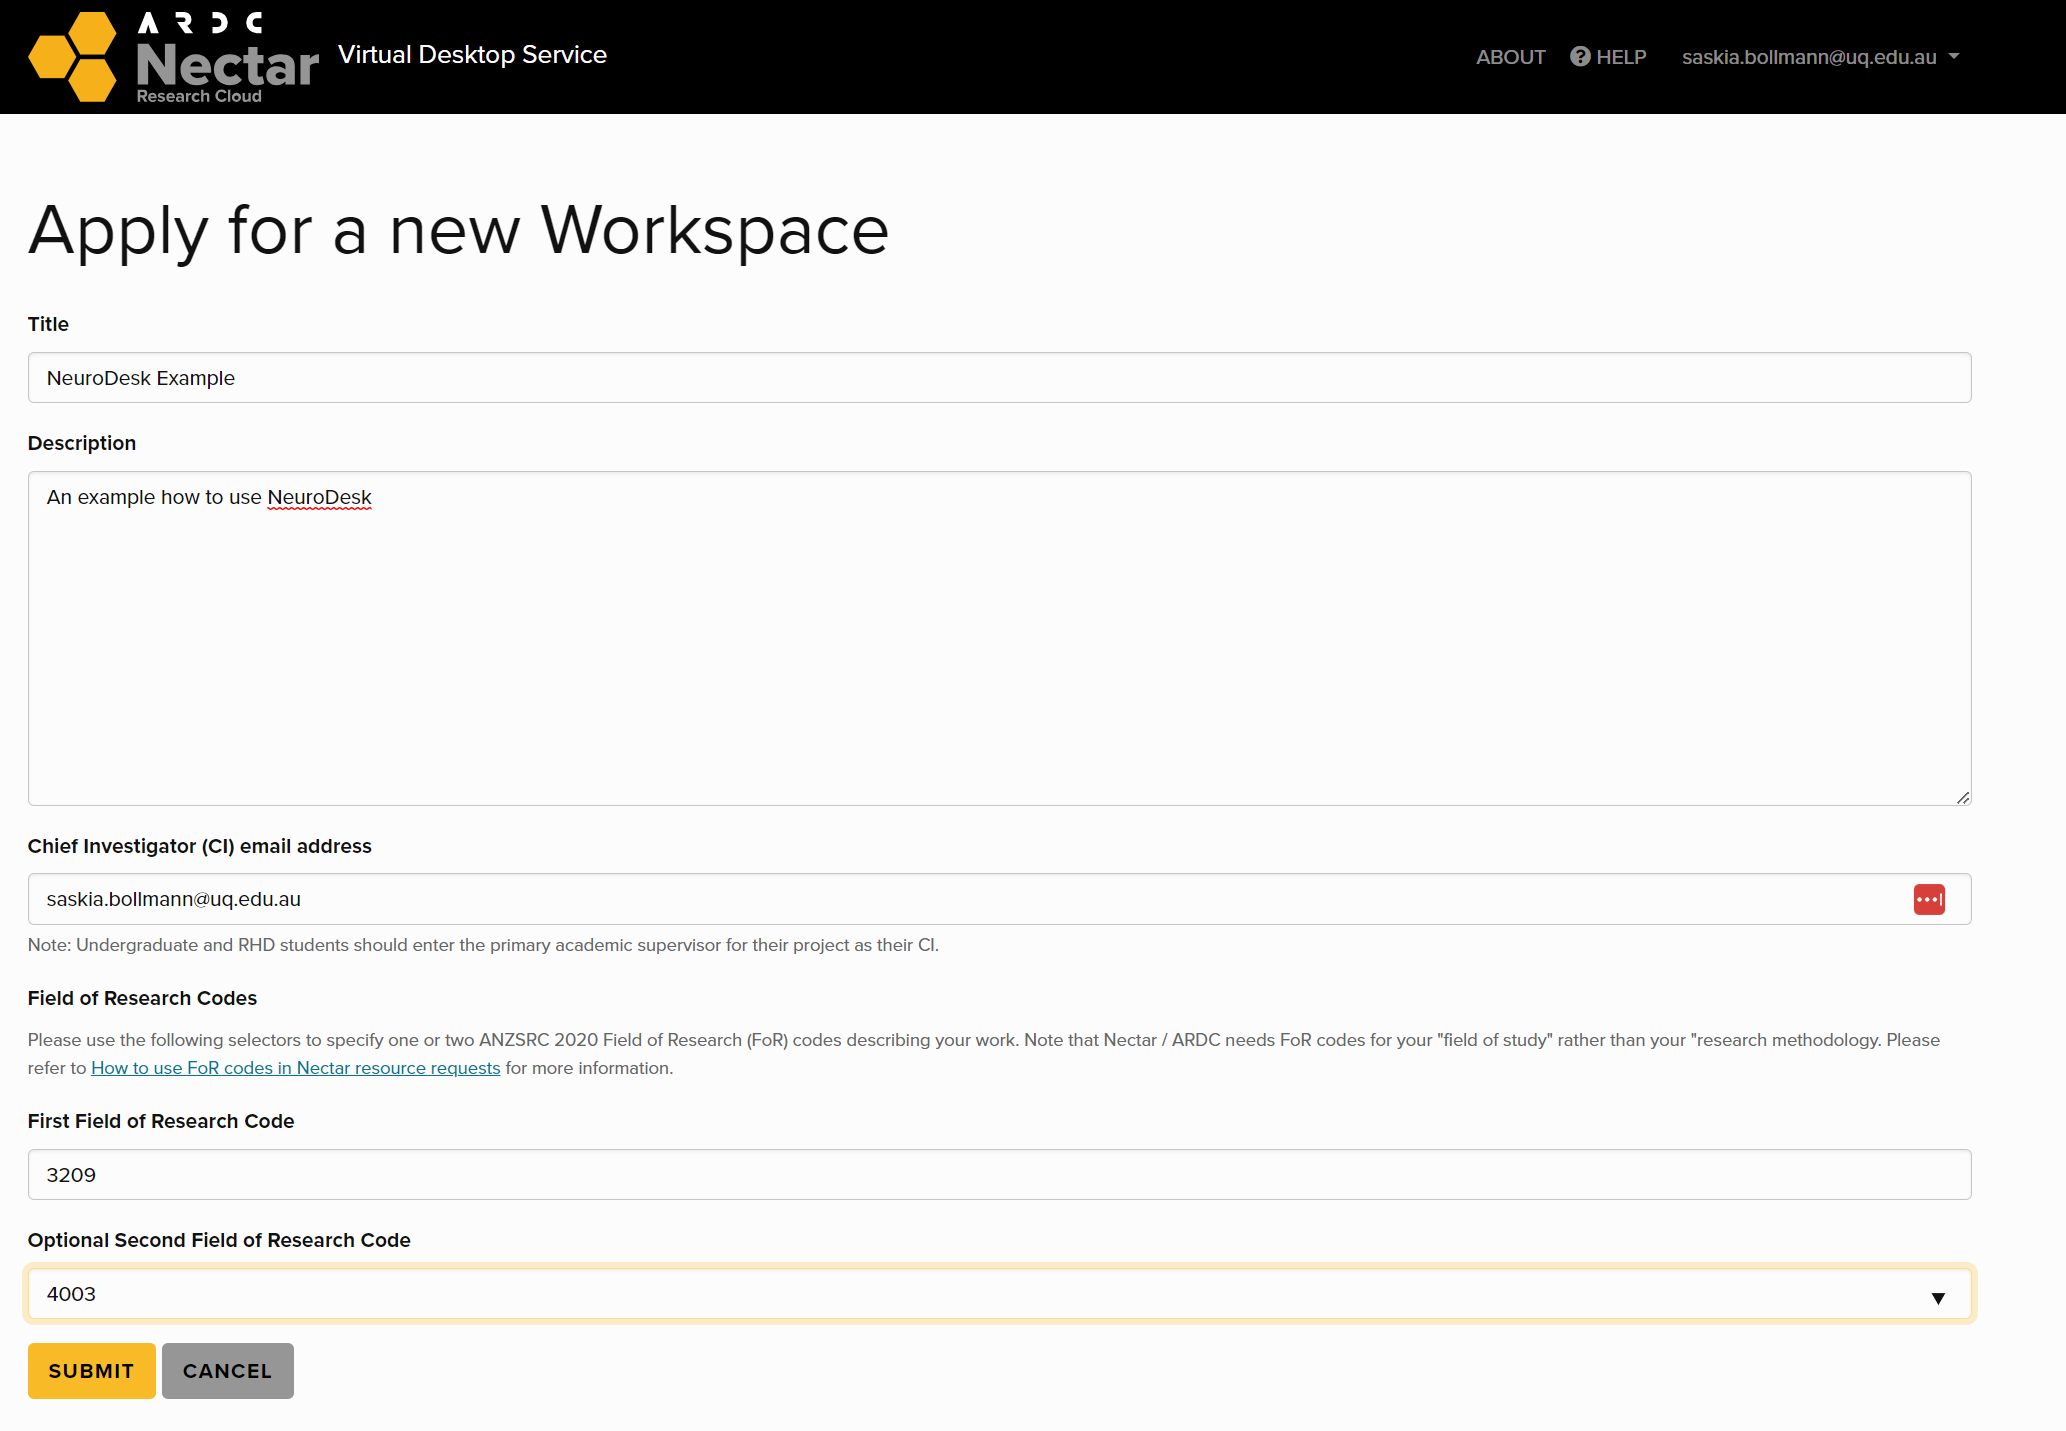
- Fill in the form ‘Apply for new Workspace’ and submit.
- Click on “EXPLORE”.
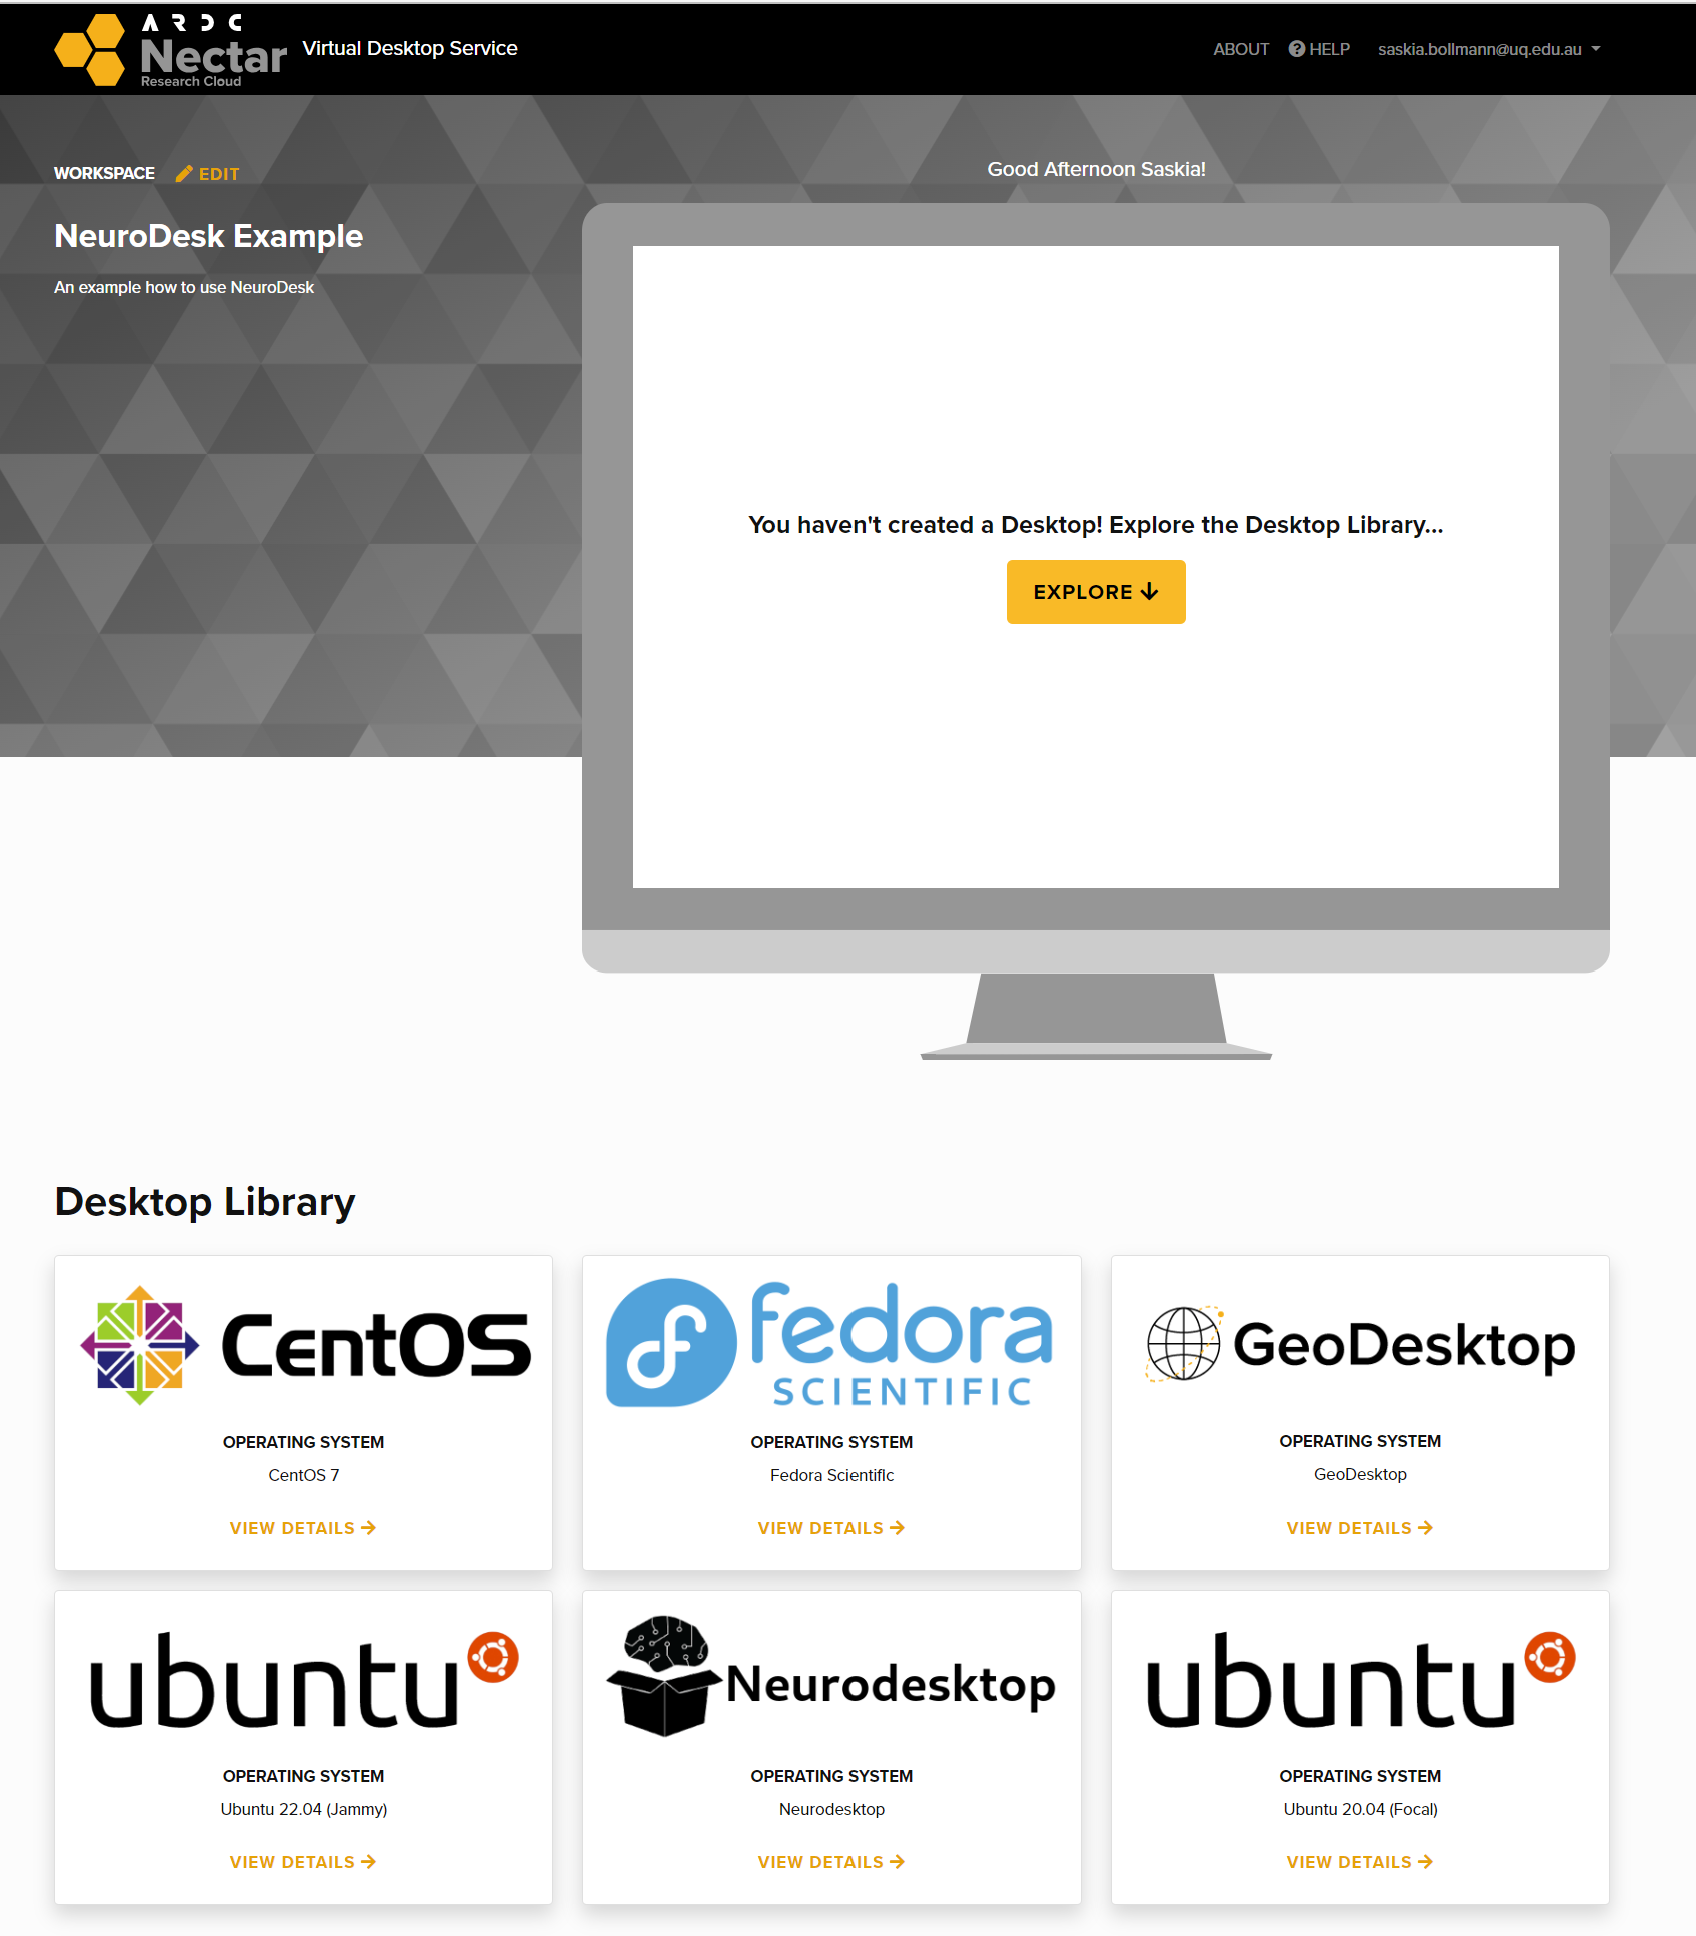
- Click “VIEW DETAILS” under Neurodesktop.
- Click “CREATE DESKTOP +” button on the top right corner.
- Choose the desired availability zone.
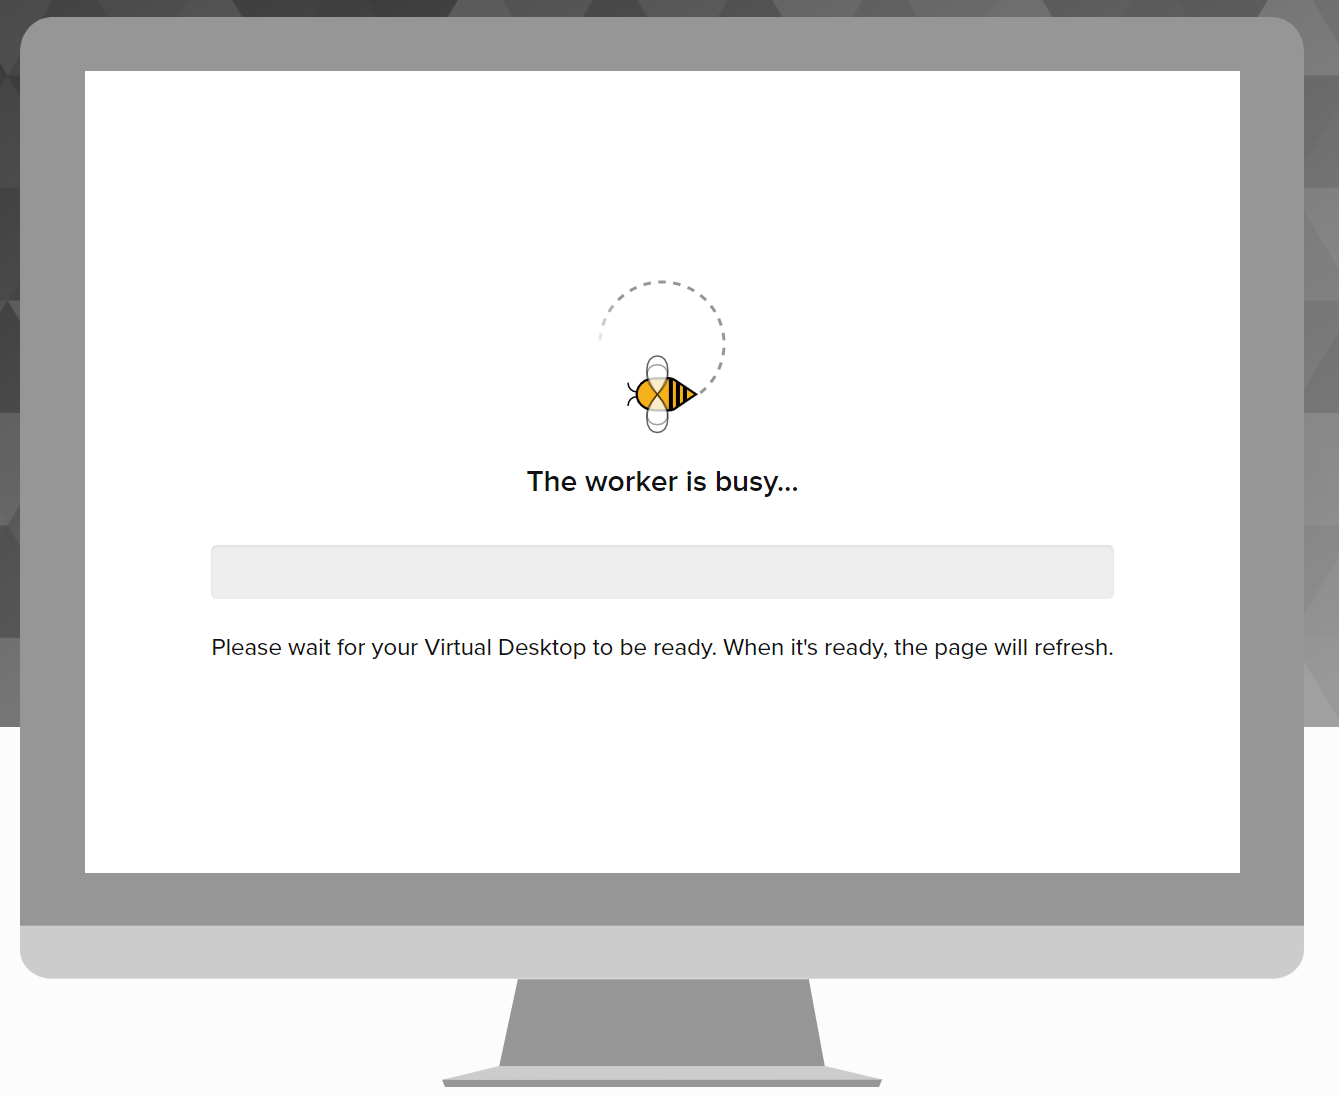
- Wait until everything is completed:
- Click “OPEN DESKTOP ->”:

- For a general guide on using the ARDC virtual desktops, see https://tutorials.rc.nectar.org.au/virtual-desktop-service/01-overview.
- For a specific explanation on how to launch the various applications available in the Neurodesktop desktop, follow the instructions at /getting-started/neurodesktop/.